Beyond Words: Unlocking Intelligent AI Automation with MCP in D365 Business Central
Introduction
Model Context Protocol (MCP) is an open standard that makes it easier for applications to provide information to large language models (LLMs). You can think of MCP like a USB-C port for AI—just as USB-C offers a common way to connect devices, MCP provides a standard way to link AI models with different data sources and tools.
MCP uses a client-server setup, where different parts work together to share data:
- MCP Hosts – Programs like Claude Desktop, IDEs, or AI tools that need access to data.
- MCP Clients – Connect directly to servers to request and send data.
- MCP Servers – Small programs that provide specific functions through MCP.
For this proof of concept (PoC), I used two key parts of MCP:
- Resources – A way for MCP servers to share data, which clients can read and use to give better responses.
- Tools – Functions that let servers do tasks, such as pulling data from other systems or running commands.
I built both the MCP server and client inside Cursor, writing all the code myself with AI’s help; since I haven’t worked with Python in five years.
As part of this PoC, I created three tools that allow the LLM to get data from Business Central and provide useful insights.
References
Model Context Protocol IO - Introduction
Model Context Protocol IO - Examples
Configuration
Before setting up the MCP server, follow these initial steps:
-
Install UV (if using Python) - This helps manage dependencies efficiently. If you’re using a different tool, install the relevant package manager.
Create a new project - This will hold all the files related to your server.
-
Set Up a Virtual Environment - This keeps your project isolated from system-wide dependencies.
Once your virtual environment is ready, follow these steps:
-
Create a New Python File – This will contain the code for your MCP server.
Set Up Environment Variables – Create a
.envfile to store sensitive credentials like API keys and connection details.
Always use the .env file to keep your credentials safe.
Always add the .env file to your .gitignore file.
For reference, you can copy the template from the Quick Start Guide and modify it as needed.

Next, I'm loading all the environment variables into global variables that I'm going to be using through multiple methods.

I have created 3 helper functions which will -
- Get the OAUTH token from the relevant API.
- Generate headers using the OAuth token.
- Send a request to Business Central and return the response.
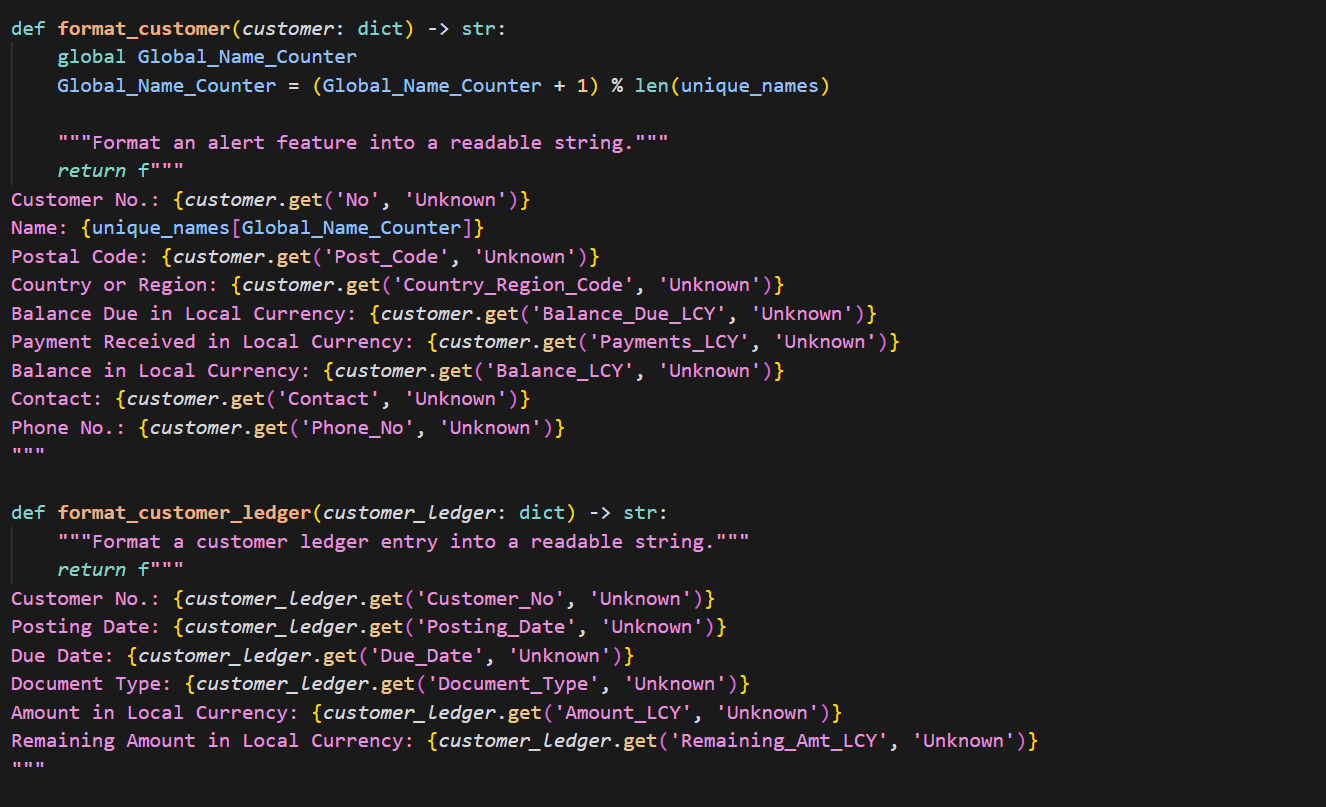
Next, I have 2 more functions which simply format the JSON strings into natural language that LLMs can understand better.

Now come the actual tools.
The get_customers method fetches all (capped at 50) customers using OData APIs and then using the format_customer helper function to convert it into natural language.

The get_customer_ledger_for_timeframe function fetches all the customer ledger entries for a particular period and formats it using the helper function.
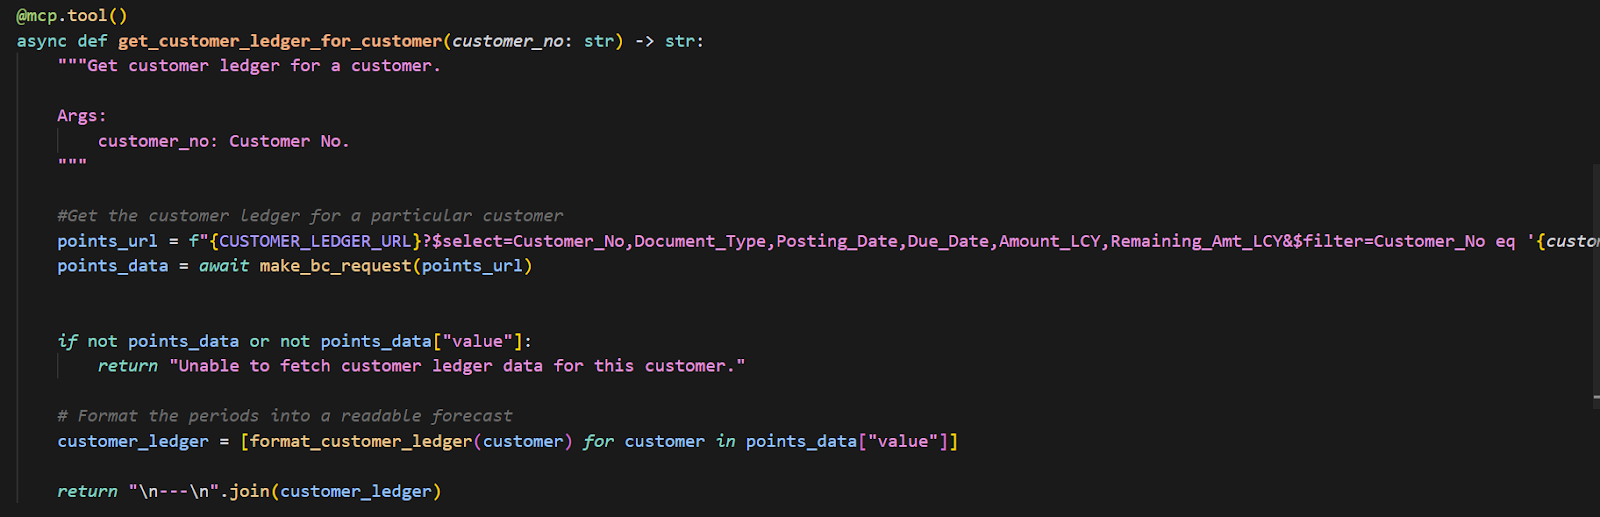
The get_customer_ledger_for_customer method fetches all the entries for a particular customer and formats it using the helper function.

At the end, we have the usual block where we call the run method on our MCP instance.


Also this might be a good time to ensure that the program you are using to develop this server (uv, node, python) are all properly configured and their PATHs available to the terminal.
You can confirm this by calling the --version on the respective tools.

If you want to double check whether your configurations are correct, you can copy the "Command" mentioned under your server and try to run it directly in the terminal.
If it runs successfully, you should be good to go.
Results
Conclusion
In the past, LLMs could only respond based on their existing knowledge. Integrating custom data into an LLM’s knowledge base was a long and tedious process, and even when it was possible, the AI had very limited ways to interact with that data.
The Model Context Protocol (MCP) feels like the long-awaited solution to this problem. With MCP, we can now extend AI applications with custom data and logic, allowing LLMs not just to analyze information but also to perform meaningful actions. This opens the door to intelligent automations, where AI-driven decisions are based on real customer data and actions crafted by humans but executed by AI.
Microsoft has already incorporated MCP into Copilot Studio, and I believe we’ll soon see similar functionalities appear across Dynamics 365 products. This shift is set to bring exciting possibilities for both end users and consultants, making AI-powered solutions more dynamic and impactful than ever before.


Comments
Post a Comment