Posts

Configure an Azure Connector in LCS
Image
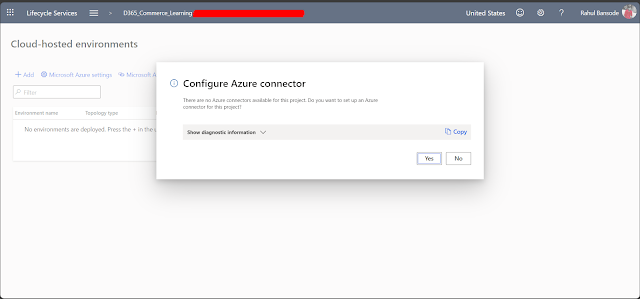
Introduction In this blog, we’ll be looking into configuring the Azure Connector in LCS with the Azure Resource Manager so that LCS can deploy your resources to Azure. Pre-requisites An Azure subscription that you are a co-administrator in. References Azure Resource Manager overview - Microsoft Learn Deploy a demo environment - Microsoft Learn Deploy and access development environments - Microsoft Learn Complete the Azure Resource Manager onboarding process - Microsoft Learn Configuration Go to Microsoft Dynamics Lifecycle Services and log in with your account. In LCS, when we try to create a cloud hosted environment for the first time, it prompts us to create an Azure Connector first. You can also access this by going to your Project Settings and the “Azure Connectors.” Once, we reach this screen, we have to click on Authorize in the organization where we want to authorize. Please do ensure your account has the necessary permissions for these actions. Once, this is done click on Micr...
Create a New Environment in LCS for D365 Finance and Operations

Image
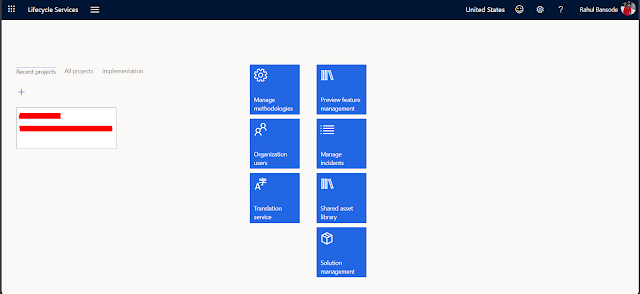
Introduction In this blog, we’ll be looking into creating a new environment for D365 Finance and Operations or D365 Commerce. Pre-requisites Microsoft Azure with a valid subscription Office 365 Account with Finance and Operations License References Azure Resource Manager Overview Deploy a demo environment | Microsoft Learn Deploy and access development environments - Microsoft Learn Complete the Azure Resource Manager onboarding process - Microsoft Learn Finance and operations application architecture - Microsoft Learn Configuration Go to Microsoft Dynamics Lifecycle Services and log in with your account.   If you select D365 Commerce, you get the following screen. If you select D365 Finance and Operations, you get another screen where you have to specify whether the project is an actual implementation or just for evaluation after which you get the same screen as below. Once the Project is created, we get the following screen. From here, we click on the hamburger menu at the top a...

Configuring NAS for Scheduled Jobs in LS Central

Image
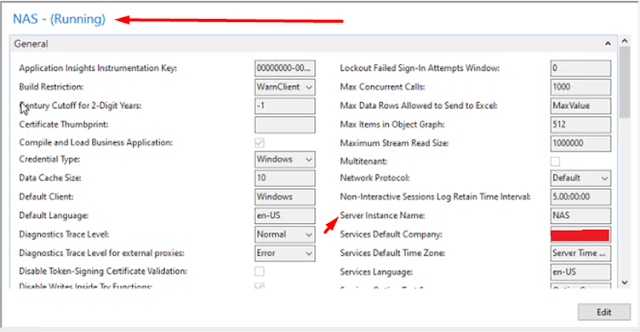
Introduction LS Central Scheduler Jobs are used for automatic background processing. These jobs use the NAS Service under the hood. We are going to see how to configure the NAS Service for LS Central. Pre-requisites LS Central Data Director References https://help.lscentral.lsretail.com/Content/LS-Insight/Setup/LS-Central-In-Cloud-LS-Insight-In-Azure/3-Machine-Or-VM.htmxt Configuration Create a new Server Instance and name it appropriately. Ensure that the account for this new Server Instance is set to User and the User has Administrator privileges. In the General tab, update the “Service Default Company” and “Service Default Time Zone.” In the NAS Services tab, set the following fields:Run NAS Services with Admin Rights : True Startup Argument : NASID,TYPEFILTER=,LOG=1,REPEAT=1 Startup Codeunit : 99001468 Startup Method : LSRSCHEDULER Restart the Server Instance. Open the Scheduler Setup in LS Central and set the “Enable NAS Scheduler” to true. Refresh the page. Conclusion Thus, we sa...

Using Scheduled Jobs to Update POS Buffer

Image
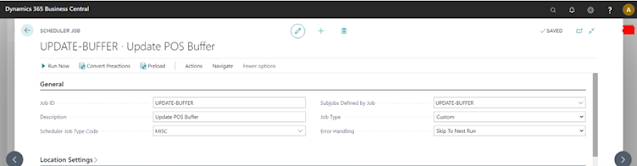
Introduction POS Search Buffer is used to display the Items in the main POS Search Drop Down. The configuration for automatically updating the POS Search Buffer is located in the POS Functionality Profile, but it is limited in nature, only 2 options exist on the POS Functionality Profile, one which defines whether the buffer should be updated automatically and the other defines the frequency in which it should be updated. We’ve faced some issues with this process running automatically such the Buffer not being updated as such we had to look for a work-around using Scheduled Jobs. Pre-requisites LS Central Business Central OnPrem or OnCloud References How to: Control When to Update Search Index and POS Buffer (lsretail.com) Configuration Create a new scheduled job with an appropriate name and description. In the Object Setup, define the “Object Type” as Codeunit and “Object ID” as 10000749, set the “Code” field as INDEX. Also ensure that the “Uses Scheduler Job Record” is set to true. I...

Live Share With VS Code

Image
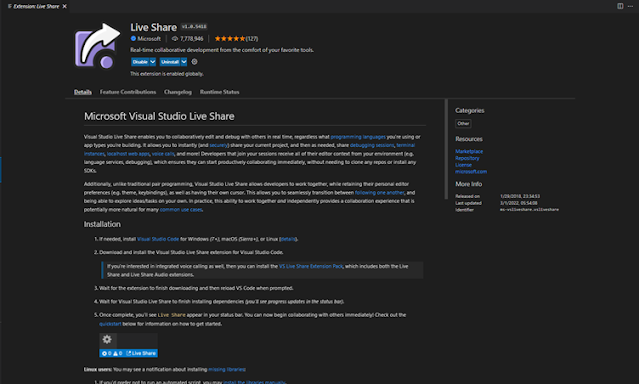
Introduction VS Code has a feature, Live Share, using which multiple people can access the same workspace in VS Code and modify files at the same time. This has huge applications in teaching, code reviews as well as prototyping. You can edit modify separate files at the same time in the same folder. Pre-requisites VS Code References Use Microsoft Live Share to collaborate with Visual Studio Code Configuration Install the Live Share extension in VS Code. Click on the “Live Share” button at the bottom left. Sign in using your Github or Microsoft Account. You can see the session details in the “Live Share” tab along with previously connected. Click on the “Invite Participants” to get the link what can be used to share the session. Now, you can collaborate with different Users and modify the same or different files together. Conclusion Thus we saw how we can use Live Share for collaborating while developing or reviewing in VS Code.  Happy Coding!